Streamline Inventory with trakr Counting: How to Pick, Receive, and Create Pick Lists for Efficient Order Fulfillment
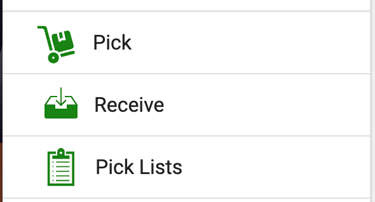
On the left side of the trakr Dashboard, you will see the options for:
Pick: Select items for order fulfillment.
Receive: Accepting and recording incoming inventory.
How to Pick
Click ‘Pick’: Locate and click the ‘Pick’ button in the top-left corner of your screen.
Search for the Product: Use the search bar to start typing the product name you want to select, then select it from the list.
Enter Quantity: Type in the quantity you’re picking for this order.
Save: After entering the quantity, click ‘Save’ to confirm your pick.
Pro Tip: Need to adjust the on-hand quantity? You can override it directly from this screen for real-time updates.
How to Recieve
Click ‘Receive’: To begin, click the ‘Receive’ button at the top-left corner of your screen.
Search for the Product: Use the search bar to find the product you are receiving.
Select Storage Location: Choose the storage location where the product will be stored.
Enter Quantity: Input the quantity of the product you are receiving.
Save: Click the ‘Receive’ button to save and confirm the received quantity.
How to Use Pick Lists
Click ‘Pick List’: Navigate to the ‘Pick List’ section and click to begin creating a new list.
Name Your Pick List: Enter a unique name for your pick list.
Enter PO#/WO#/REF#: Input the Purchase Order number (PO#), Work Order number (WO#), or Reference number (REF#) that you want to associate with the list.
Add Items: Add the items you need to pick for this list.
Print Your List: Once complete, you can print out the pick list for use.
Pro Tip: Pick lists are currently only available in the web browser version, not in the handheld app.