How to create areas and shelves in Product Storage
Build the map of your location in Product Storage: add areas like Aisle 3 or Tool Crib, then shelves and bins inside them.
On this page Before you start
Areas and shelves are the map of your location. With a map in place, you can place products exactly where they live and count one area at a time.
Before you start
Pick the right location first. Product Storage shows the areas of the location named under the logo. See Switch between locations if you need to change it.
Create an area
- Open Products > Product Storage. The tree on the left shows All Storage and the areas you already have.
- Click All Storage so nothing else is selected.
- Click Add Storage. The Add Product Storage window opens.
- Leave Primary Product Storage empty. An empty parent means a top-level area.
- Type the Name, for example
Aisle 3. - Click Add Product Storage. A message confirms it was created and it appears in the tree and as a card.
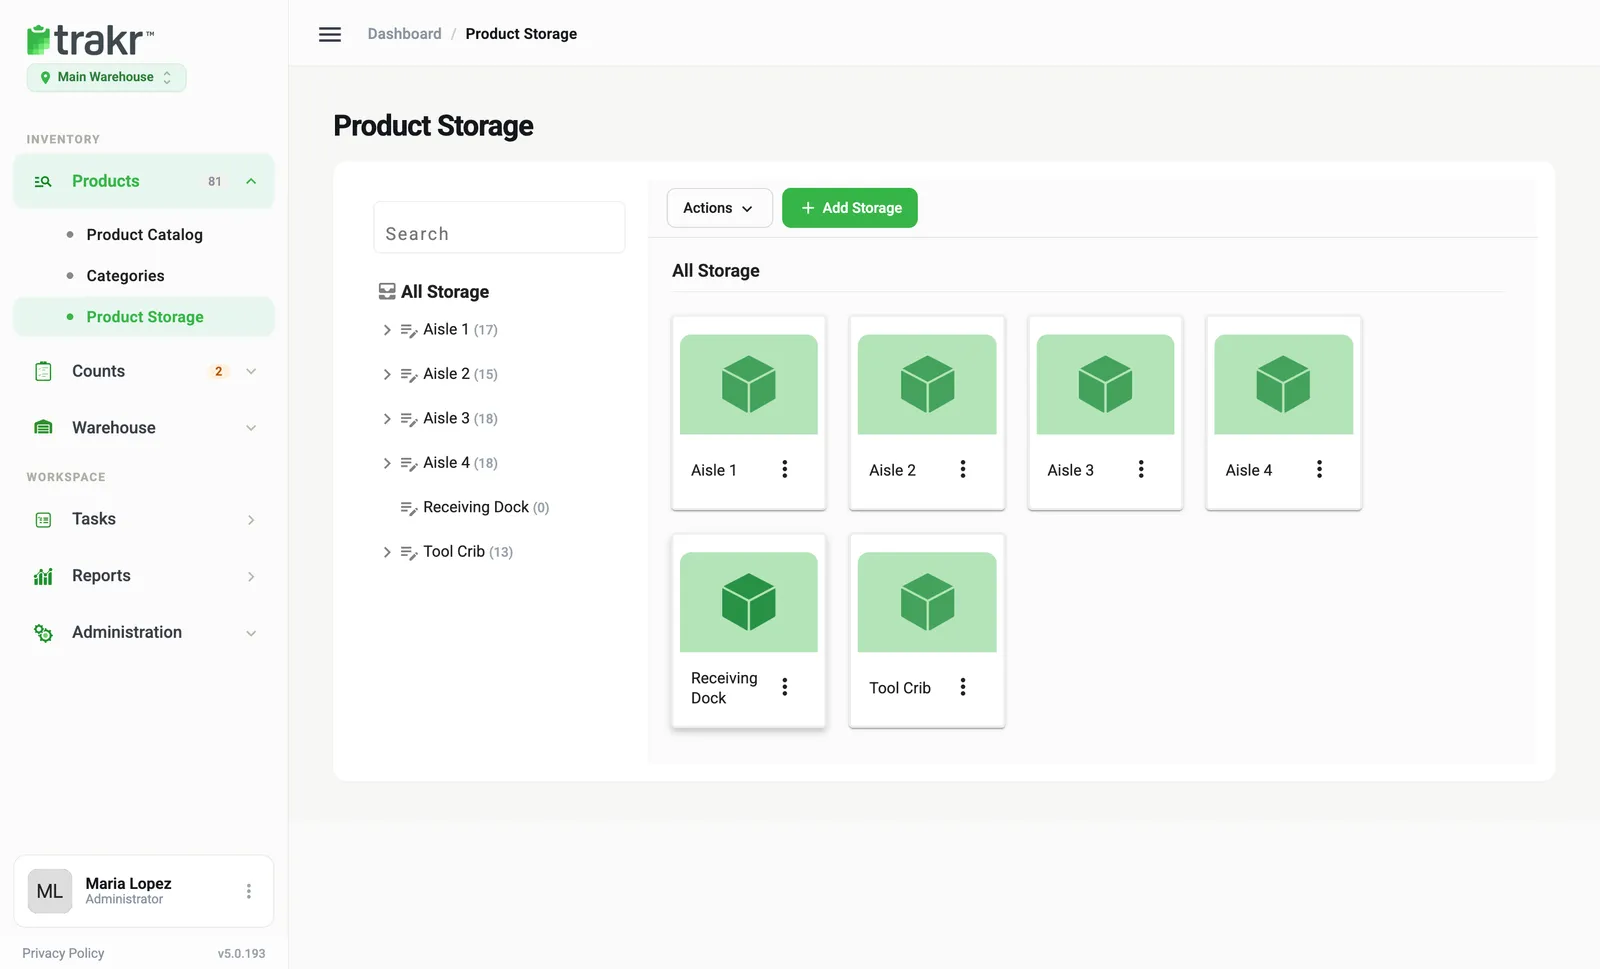
- 1All Storage
- 2Add Storage
Add a shelf or bin inside an area
- In the tree or on the cards, click the area, for example Aisle 3. Its page opens.
- Click Add Storage. The window already has Primary Product Storage filled in with the area you picked.
- Type the Name, for example
Shelf C-01, and click Add Product Storage.
You can also click the small note icon next to a name in the tree and choose Add Storage there.
Repeat inside a shelf to add bins. There is no fixed depth.
Rename, move, copy or delete
Use the three-dot menu on a card, or the note icon in the tree.
- Edit changes the name, description or parent.
- Clone copies the area with everything nested under it. The copy’s name ends with “(Clone)”.
- Delete asks you to type
deleteto confirm.
Build many at once
Open Actions and choose Import Storages, or Export Storages to download your current structure as a starting file. You can also copy a whole structure to a new site when you add a location.
Next, put products in your areas.
Common questions
Can I rename or move an area?
Yes. Open the three-dot menu on the area card and choose Edit. You can change the name and pick a different parent, which moves the area and everything inside it. An area can't be moved under one of its own sub-storages.
Can two areas have the same name?
Not at the top level. Two areas in the same location can't share a name, so Trakr tells you the name already exists. Inside different parents, names such as Shelf 1 can repeat.
Can I create many areas at once?
Yes. Use Actions > Import Storages and upload an Excel file. Fill the Parent Path column like Main Warehouse > Shelf 1, and leave it empty for top-level areas.
Why can't I delete an area?
It still holds products, or one of the shelves inside it does. Move or remove those products first, then delete it.
Related articles
Was this article helpful?
Thanks, that helps us keep the guides honest. Need more help? Contact us